

How to learn to ride a bike child
To help a child learn to ride a bike, first choose a bike they can comfortably stand over, steer and brake, then practise balance before pedalling.
Measure the child before choosing a bike
Measure the child’s height without shoes. For inseam, have them stand straight with feet slightly apart, then measure from the floor to the crotch. Use these measurements to identify bikes worth trying, but make the final decision from an individual fit check.
During the check, confirm that the child has comfortable clearance when standing over the bike. Seated, they should be able to reach the handlebar without an awkward stretch, steer without fighting the bike and operate the brakes confidently. Do not buy an oversized bicycle merely to allow room for growth. Age is only a starting point; measured height, inseam, reach, brake control and confidence matter more.
Compare the XBikes wheel-size starting points
| Wheel size | Starting age | Rider height |
|---|---|---|
| 12 Inch | 3–4 | 34–40 in / 86–102 cm |
| 14 Inch | 3–6 | 37–45 in / 94–114 cm |
| 16 Inch | 4–7 | 40–48 in / 102–122 cm |
| 18 Inch | 5–9 | 43–52 in / 109–132 cm |
| 20 Inch | 7–12 | 48–60 in / 122–152 cm |
| 24 Inch | 10–14 | 54–64 in / 137–163 cm |
| 26 Inch | Youth and adults | Over 60 in / 153 cm |
Overlapping ranges are comparison points, not proof that every listed size will fit. If the child falls between sizes, try both and choose according to stand-over clearance, reach, brake access and control rather than selecting the larger wheel automatically.
Build balance before adding pedalling
Choose a flat, open area away from traffic, slopes and obstacles. Start with the child seated and supported only as much as necessary. Let them push along, lift their feet briefly and learn to look ahead while keeping the handlebar steady. Short, calm sessions usually make it easier to stop before fatigue or frustration reduces control.
- Practise getting on, standing over the bike and getting off deliberately.
- Practise pushing, coasting and placing both feet down to stop.
- Introduce steering around widely spaced markers.
- Check that the child can operate the brakes before increasing speed.
- Add pedalling only when short coasts and controlled stops feel repeatable.
A parent may steady the child at the torso at first, but should gradually reduce assistance. Avoid pulling the handlebar because that prevents the rider from learning their own steering corrections.
How the supplied bikes fit this decision
The catalog options provide useful comparisons at two learning stages: one offers 12, 14, 16 and 20 Inch choices with training wheels, while the other is a 20-Inch BMX bike without pegs. They help narrow the wheel-size and support decision, but neither replaces an in-person fit and control check.
 Blue XJD Freestyle BMX Bike, 20-Inch – No Pegs
A 20-Inch Kids’ BMX bike supplied without pegs. Compare it for a child within the 20-Inch starting range who can manage an unsupported setup, subject to an individual fit and control check.
 Pink 12/14/16/20" XJD Girls Bike with Training Wheels & Basket
Available in 12, 14, 16 and 20 Inch labels with training wheels and a basket. Its size choices support comparison across several starting ranges, but measured fit, reach and brake control remain decisive.
The Pink 12/14/16/20" XJD Girls Bike with Training Wheels & Basket is available in 12 Inch, 14 Inch, 16 Inch and 20 Inch labels. Its training wheels may be relevant when a child is beginning with supported pedalling. Select among those labels using measured height and the table, then verify stand-over, reach and brake control.
The Blue XJD Freestyle BMX Bike, 20-Inch – No Pegs is a 20-Inch option in the Kids’ BMX Bikes category. The XBikes starting range for 20 Inch is ages 7–12 and 48–60 in / 122–152 cm, but that does not establish an individual fit. Because it is supplied without training wheels, compare it when the child’s balance and confidence match an unsupported setup.
There is no supplied 18-Inch product. If measurements point to 18 Inch, the listed products are nearest-size comparison points only; a 16- or 20-Inch model is not an equal substitute.
Prepare for the first independent ride
Use a bicycle helmet that fits properly, sits level and has its straps adjusted according to the helmet manufacturer’s instructions. Choose close-fitting clothing and closed-toe footwear, and keep the practice area clear. Before each session, check that the bike appears secure and that steering and braking respond normally.
For assembly, adjustment, maintenance, load limits, compatibility and torque, follow the exact product manual. If anything is unclear or the bicycle does not operate normally, use a qualified bicycle mechanic rather than inventing an adjustment.
Make the next-session decision
Before the next lesson, record the child’s height and inseam, shortlist the matching wheel-size range, and arrange a fit check. Begin with mounting, coasting and stopping; move to independent pedalling only when the child can balance, steer, reach the brakes and stop without being overwhelmed.
Bikes for your next adventure
-

Black XJD Kids Bike for Boys – 12, 14 & 16 Inch Sizes
For a son between roughly 3 and 8 years old, the XJD Kids Bike in Black covers t…$169
$199 -

Blue XJD Girls Bike with Training Wheels – 12/14/16 Inch
If you're shopping for a first pedal bike for a daughter roughly 3 to 8 years ol…$149
$169 -
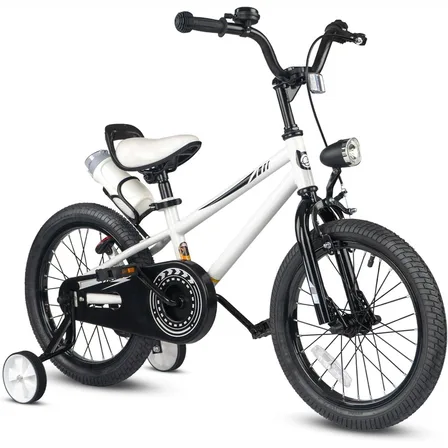
XJD Kids' Training Wheel Bike for Boys & Girls, 12/14/16 Inch – White
The XJD kids' training wheel bike in White is made for riders ages 3–8 (roughly …$169
$199