

Kids Bike Assembly Checklist: What You Need Before Starting
A kids bike assembly checklist should begin with the exact manual and the condition in which the bicycle arrived. Boxed bikes vary: one may need only the pedals and handlebar positioned, while another requires wheel, brake or training-wheel work. Do not copy a generic sequence when steering, wheel retention or braking instructions differ. Use a qualified bicycle mechanic whenever a safety-critical step is unclear.
Inventory before opening hardware
Match the model, wheel option and carton contents to the packing list. Lay out protected parts without discarding labels or spacers. Find the serial number, manual and torque specifications. Stop for a bent frame, damaged fork, cut cable, cracked component or missing safety hardware rather than assembling around the problem.

Use specified tools and torque
The manual may call for metric hex keys, open-end wrenches, a torque wrench, tire gauge, pedal wrench or other tools. The exact list varies. Do not substitute pliers on fasteners or estimate critical torque by feel. Grease, thread treatment and washer orientation must also follow the instructions.

Identify left and right parts
Pedals can use different thread directions, and a fork or handlebar installed backward can create dangerous steering. Training-wheel brackets, reflectors and brake hardware have model-specific orientation. Read each label before tightening; forcing a part that resists can damage threads.
Verify safety systems
Check wheel retention, handlebar and stem alignment, saddle insertion marks, pedal security, chain or belt movement and every brake. Inflate tires only within their sidewall and bicycle guidance. Nothing should rub, bind or contact a moving wheel during a full steering turn.
Complete an adult test first
Recheck torque in the sequence required by the manual. An adult rolls the empty bicycle, operates each brake and listens for movement. Then fit the child and perform a walking-speed stop in a clear area. Professional assembly is the right choice when tools, specifications or experience are missing.
How current product examples clarify the choice
The blue small-wheel XJD bike and 20-inch freestyle BMX show why one generic assembly list is insufficient: they use different wheel sizes and braking configurations. Their product pages identify the selected model, while its packaged manual must control the actual tool list and procedure.
Practical checklist
- Confirm model and package contents.
- Use the specified tools and torque values.
- Verify steering, wheels, pedals and brakes.
- Have an adult test before the child rides.
Frequently asked questions
Do all kids bikes arrive equally assembled?
No. Preparation level varies by seller, model and shipping method.
Can I assemble a bike without a torque wrench?
Follow the manual; when it specifies torque and you lack the correct tool, use professional assembly.
Before making the final choice, revisit the exact route or driving area at the time it will normally be used. A setup that works during a quiet test may need more room, visibility or adult support when other people and everyday obstacles are present.
Bottom line
Use the answer to kids bike assembly checklist as a decision process, not a shortcut. Confirm the live product data and manual, match the rider to the controls and setting, and favor repeatable control over a larger size or higher performance label.
Bikes for your next adventure
-
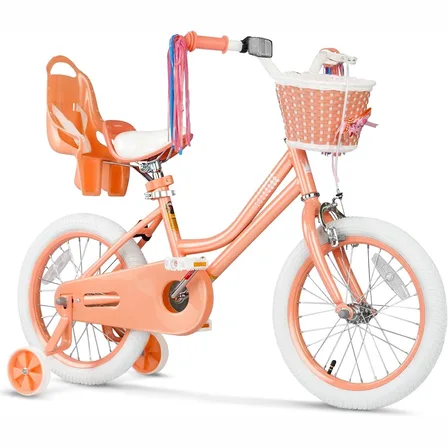
Girls 12/14/16 Inch Kids Bike by XJD with Training Wheels – Peach
The XJD Girls Bike in Peach is a training-wheel bike built for girls roughly 3 t…$149
$169 -
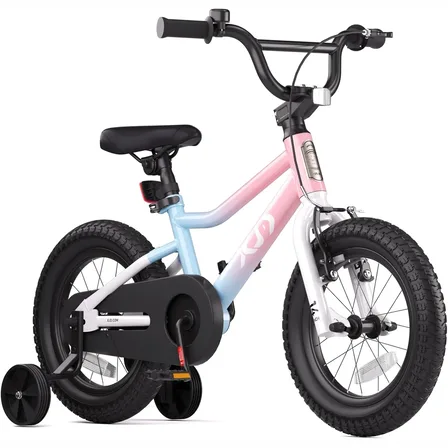
XJD Girls BMX Bike 12/14/16 Inch with Training Wheels – Pink Blue
The XJD Girls BMX Bike in Pink/Blue is built as a first pedal bike for kids roug…$99.99
$119.99 -
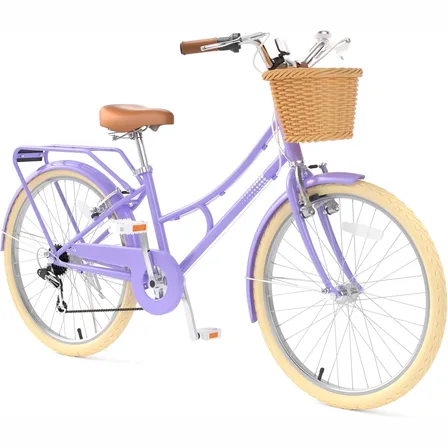
24-Inch Purple XJD Beach Cruiser Bike with U-Brake
The XJD 24-Inch Purple Beach Cruiser is built for girls and young women roughly …$159.99