

Where do your kids park their bikes at home
Park kids’ bikes in a dry, secure, easy-to-reach spot with a measured space for each bike, clear walking routes, and stable support.
Measure the bike and the parking space
Start with the bicycle your child actually rides. Measure its total length, handlebar width, and height at the tallest point. If it has accessories such as a rear rack, include their full outline. Then measure the proposed floor area, doorway, turning space, and any low shelf or ceiling obstruction.
Do not rely on wheel size to predict the complete storage footprint. Two bicycles with the same wheel label can occupy different amounts of space. Mark the measured outline on the floor with removable tape and walk past it while carrying groceries or opening nearby doors. The location works only if the parked bicycle does not block an exit, stair, vehicle, appliance, or frequently used path.
Choose the right place at home
A garage, shed, utility area, covered porch, or indoor entry zone can work when it is dry, secure, and accessible. Avoid a position where the bicycle is likely to be knocked over or exposed to routine vehicle movement. If outdoor storage is unavoidable, choose appropriate weather protection and follow the bicycle and storage-equipment instructions.
Convenience matters: a child is more likely to use a designated place that does not require lifting beyond their comfortable control. Floor stands and defined wheel slots can make independent parking straightforward. Wall or ceiling systems save floor area, but an adult may need to handle the bicycle. Confirm that any support system is compatible with the exact bicycle and installed as its manufacturer directs.
Compare floor, wall, and shared storage
| Parking method | Measure or check | Good fit when |
|---|---|---|
| Floor parking | Bike length, handlebar width, turning room | The child can roll the bike in and stabilize it |
| Wall storage | Bike height or length on the wall, attachment location, clearance | A compatible rack can be securely installed |
| Shared row | Combined widths, handlebar overlap, removal path | Each bike can leave without moving every other bike |
For several children, assign each bicycle a position and test removal in the order the bikes are normally used. Alternating handlebar directions may reduce interference, but verify this with the real bicycles. Leave enough separation to prevent pedals, brake controls, and accessories from catching.
Let the bicycle’s size guide the setup
Wheel size is useful for organizing spaces, but it does not replace measuring the complete bicycle. XBikes uses these starting points for rider fit: 12 Inch for ages 3–4 and heights 34–40 in (86–102 cm); 14 Inch for ages 3–6 and 37–45 in (94–114 cm); 16 Inch for ages 4–7 and 40–48 in (102–122 cm); 18 Inch for ages 5–9 and 43–52 in (109–132 cm); 20 Inch for ages 7–12 and 48–60 in (122–152 cm); 24 Inch for ages 10–14 and 54–64 in (137–163 cm); and 26 Inch for youth and adults over 60 in (153 cm).
These ranges help anticipate whether a family may soon be parking larger bicycles, but never buy an oversized bike merely for growth. Measure the rider and check stand-over clearance, reach, brake control, and current confidence on the individual bicycle. Age alone does not establish fit.
How the supplied bicycle helps with comparison
The XJD Kids Beach Cruiser Bicycle, Rear Rack & V-Brakes, Mint Green is offered with 20 Inch, 24 Inch, and 26 Inch SKU labels. Those three sizes make it relevant when comparing how a child’s parking needs may change across larger wheel-size categories. Its supplied rear-rack detail is also a reminder to measure the entire bicycle rather than stopping at the rear wheel.

Use the displayed options as comparison points, not as dimensional specifications: the catalog facts do not provide overall length, width, or height. Select a wheel size only after the rider-specific fit check described above, then measure that exact assembled bicycle before buying or installing storage hardware.
Set up a parking routine
- Choose a dry, secure location away from exits and vehicle paths.
- Measure the exact bicycle, access route, and proposed parking outline.
- Select a support system confirmed compatible by its manufacturer.
- Park and remove the bike several times to check balance, lifting effort, and snag points.
- Store the helmet where it stays protected and easy to find; before riding, make sure it fits properly, sits level, and has straps adjusted according to its manufacturer’s instructions.
Periodically inspect the parking equipment and bicycle for looseness, damage, or interference. For installation details, maintenance, load limits, compatibility, or torque values not stated here, follow the exact product manual or ask a qualified bicycle mechanic.
Today, measure each child’s complete bike and its route to the proposed spot; keep the location only if the child can park and retrieve it without blocking the household.
Bikes for your next adventure
-
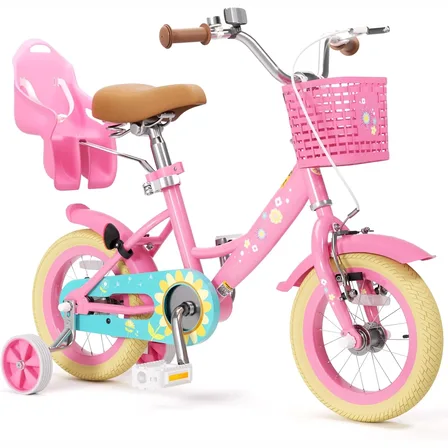
Flower Pink XJD Girls Bike with Doll Seat & Basket
The XJD Flower Pink girls' bike is made for riders 71–122 cm tall (roughly ages …$69.99
-
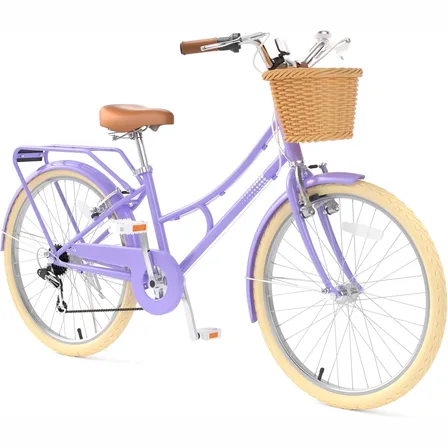
24-Inch Purple XJD Beach Cruiser Bike with U-Brake
The XJD 24-Inch Purple Beach Cruiser is built for girls and young women roughly …$159.99
-
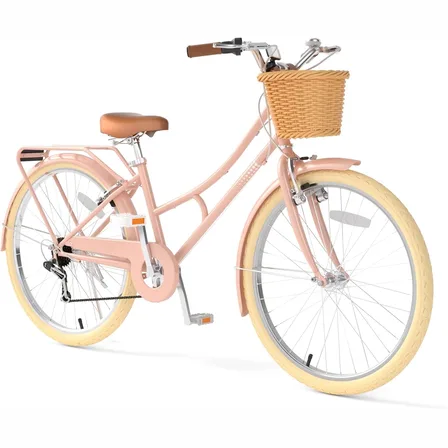
Pink XJD Beach Cruiser Bike, 24"/26", U-Brake
The XJD Pink Beach Cruiser Bike is a single-speed cruiser built for older kids a…$159.99