

What is the difference between a girls and boys bike
The main difference between a girls’ and boys’ bike is usually styling or frame design—not who can ride it. Choose by fit, control and confidence.
What the labels actually mean
“Girls” and “boys” may describe colors, graphics, accessories or frame shape. These labels do not determine whether a bicycle fits a particular child. A girl can ride a bike marketed for boys, and a boy can ride one marketed for girls.
Some designs use a lower or differently shaped top tube, which may make mounting easier. That can be useful for any child. Compare the actual bicycle and the rider’s position instead of treating the gender label as a sizing category.
Measure the child before comparing bikes
Measure the child’s height without shoes, standing straight against a wall. Also measure inseam from the floor to the crotch. Height provides a wheel-size starting point; inseam helps you assess clearance when the child stands over the bicycle.
Then have the child try the bike. Check that mounting and stopping feel manageable, that the child can stand over it with useful clearance, and that reaching the handlebar does not pull the body too far forward. The child must also be able to operate the brakes comfortably and reliably. Current confidence matters: a hesitant beginner may need a more manageable fit than a confident rider of the same age.
Use wheel size only as a starting point
| Wheel size | Starting age | Rider height |
|---|---|---|
| 12 Inch | 3–4 | 34–40 in / 86–102 cm |
| 14 Inch | 3–6 | 37–45 in / 94–114 cm |
| 16 Inch | 4–7 | 40–48 in / 102–122 cm |
| 18 Inch | 5–9 | 43–52 in / 109–132 cm |
| 20 Inch | 7–12 | 48–60 in / 122–152 cm |
| 24 Inch | 10–14 | 54–64 in / 137–163 cm |
| 26 Inch | Youth and adults | Over 60 in / 153 cm |
These ranges overlap because children with similar ages can have different proportions and abilities. Prioritize measured height, inseam, reach, brake control and confidence over age. Do not buy an oversized bicycle solely to leave growing room; a bike that is difficult to mount, balance or stop can undermine control.
How to compare a girls’ and boys’ bike in person
- Ignore the label first. Place both bicycles on level ground and compare their usable fit for the same child.
- Check stand-over clearance. The child should be able to straddle the bike without the frame pressing uncomfortably into the body.
- Check reach. Look for a natural position rather than locked arms, stretched shoulders or difficulty turning the handlebar.
- Check starting and stopping. The child should be able to get on, set off and put a foot down without struggling.
- Check brake access and control. The child must reach and operate the controls reliably. Do not assume two bikes with the same wheel size have an identical fit.
- Let preference break a genuine tie. If both fit and function equally well, the child can choose the appearance they enjoy.
How the supplied XBikes option is relevant
The supplied catalog example shows why gender wording should not decide the purchase. The XJD Boys & Girls BMX Bike with Training Wheels, 12/14/16" – Blue is listed for both boys and girls and has 12 Inch, 14 Inch and 16 Inch SKU labels. Those sizes provide comparison points for children within the corresponding XBikes height starting ranges, but the exact SKU still needs an individual fit check.

This product is relevant when the measured rider falls near one of those three size ranges and a kids’ BMX bike with training wheels is being considered. It is not a substitute when the fit check points to 18 Inch, 20 Inch, 24 Inch or 26 Inch. No gender label can make an unsuitable wheel size equivalent to the size the rider needs.
The supplied facts do not specify weight, materials, brake type, load limits, assembly details or compatibility. For those points, consult the exact product manual or ask a qualified bicycle mechanic rather than assuming details from the title.
Make the final choice
Choose the girls’ or boys’ bike on which the child can stand over the frame, reach the handlebar and brakes, start, steer and stop with control. Confirm the wheel-size starting range with measured height, then verify inseam, reach and confidence on the actual bike. Finally, provide a properly fitting bicycle helmet that sits level and has its straps adjusted according to the helmet manufacturer’s instructions. If one bike merely has preferred styling but the other gives better control, choose the better-fitting bike; if fit is equal, let the child choose the design.
Bikes for your next adventure
-
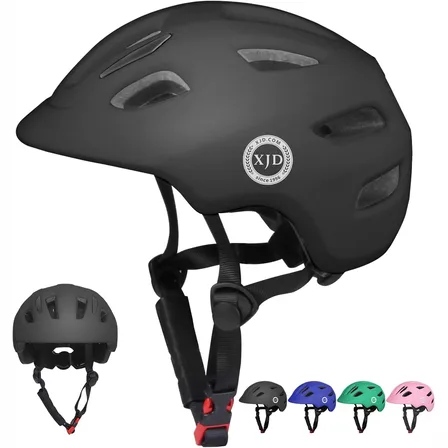
Black XJD Toddler Bike Helmet, Adjustable – Kids' Protective Helmet
The XJD Toddler Bike Helmet in black is an adjustable protective helmet for kids…$20.39
-

Light Pink XJD Girls' Bicycle with Basket & Training Wheels
The Light Pink XJD Girls' Bicycle with Basket & Training Wheels is a retro-style…$109.99
$129.99 -
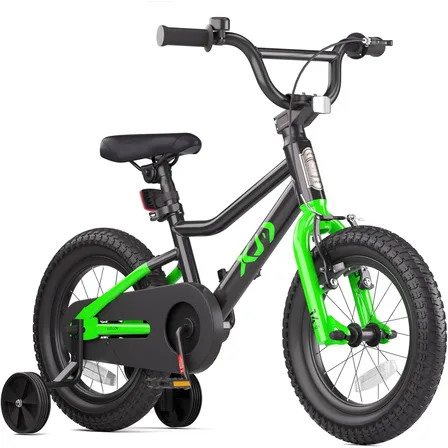
Black XJD Kids' BMX Bicycle with Training Wheels
The XJD Kids' BMX Bicycle with Training Wheels is built for children roughly 3 t…$99.99
$119.99