When should a kid ride a bike without training wheels
A child should ride without training wheels when they can balance, steer, start, stop and brake with control—and when the bike fits them now. Age alone does not decide readiness.
Look for five readiness signs
Remove the training wheels when your child can demonstrate the following skills calmly and repeatedly, rather than succeeding only once:
- Balance: They can glide with both feet lifted for several seconds without leaning sharply or putting a foot down immediately.
- Steering: They can look ahead, follow a gentle path and turn without freezing or making abrupt handlebar movements.
- Starting: They can push away purposefully and place their feet on the pedals without needing an adult to hold the bike upright.
- Stopping: They can slow down, use the brakes within easy reach and put a foot down in control.
- Confidence: They want to try and can follow simple instructions without panic.
If one of these is missing, keep practicing that specific skill. Training wheels can help with pedaling and steering, but they do not prove that a rider can balance on two wheels.
Measure fit before judging ability
Measure the child’s height without shoes, then check inseam, reach and brake control on the actual bicycle. The child should be able to stand over the bike comfortably, reach the handlebars without stretching and operate the brakes confidently. Have them try the bicycle; do not choose an oversized model merely to allow room for growth.
| Wheel size | XBikes age starting point | Rider height starting point |
|---|---|---|
| 12 Inch | 3–4 | 34–40 in / 86–102 cm |
| 14 Inch | 3–6 | 37–45 in / 94–114 cm |
| 16 Inch | 4–7 | 40–48 in / 102–122 cm |
| 18 Inch | 5–9 | 43–52 in / 109–132 cm |
| 20 Inch | 7–12 | 48–60 in / 122–152 cm |
| 24 Inch | 10–14 | 54–64 in / 137–163 cm |
| 26 Inch | Youth and adults | Over 60 in / 153 cm |
These ranges are starting points, not proof of fit or readiness. Prioritize measured height, inseam, reach, brake control and present confidence over age. A child near an overlap between sizes should try each relevant size rather than automatically moving up.
Use a simple practice test
- Choose a flat, open area away from traffic, slopes and obstacles.
- Use a properly fitting bicycle helmet. It should sit level, with its straps adjusted according to the helmet manufacturer’s instructions.
- Let the child practice gliding, looking ahead and placing both feet down to stop. If the training wheels must be removed or adjusted for this exercise, follow the exact bicycle manual or ask a qualified bicycle mechanic.
- When gliding is controlled, practice a push-off, a short pedal run, a gentle turn and a planned stop.
- Stay close enough to help, but avoid holding the handlebar. Holding it can prevent the child from making the small steering corrections that create balance.
Several controlled attempts are more meaningful than one lucky run. End the session before fatigue or frustration replaces concentration.
When to keep the training wheels
Keep them for now if the child cannot glide steadily, cannot reach or operate the brakes, repeatedly looks down, turns unpredictably, or asks to stop. Also pause if the bicycle is too large or the child must stretch to control it. More practice cannot correct poor fit.
Training wheels are also still relevant when a correctly fitted rider needs time to coordinate pedaling, steering and stopping. They should support learning rather than become a deadline: readiness can develop at different ages within the same wheel-size range.
How the supplied bike helps with the decision
The XJD Kids' Training Wheel Bike for Boys & Girls, 12/14/16 Inch – White is available in 12 Inch, 14 Inch and 16 Inch labels. Those options let families compare three adjacent XBikes starting ranges while considering a training-wheel bike. The labels alone do not establish fit; the child still needs to try the selected size and pass the stand-over, reach and brake-control checks.
These particular catalog options are relevant if the child’s measured height falls within the 12-, 14- or 16-inch starting ranges and training wheels are still useful. For a child who already balances and controls a suitable bike, the training-wheel feature may no longer address the skill they need.
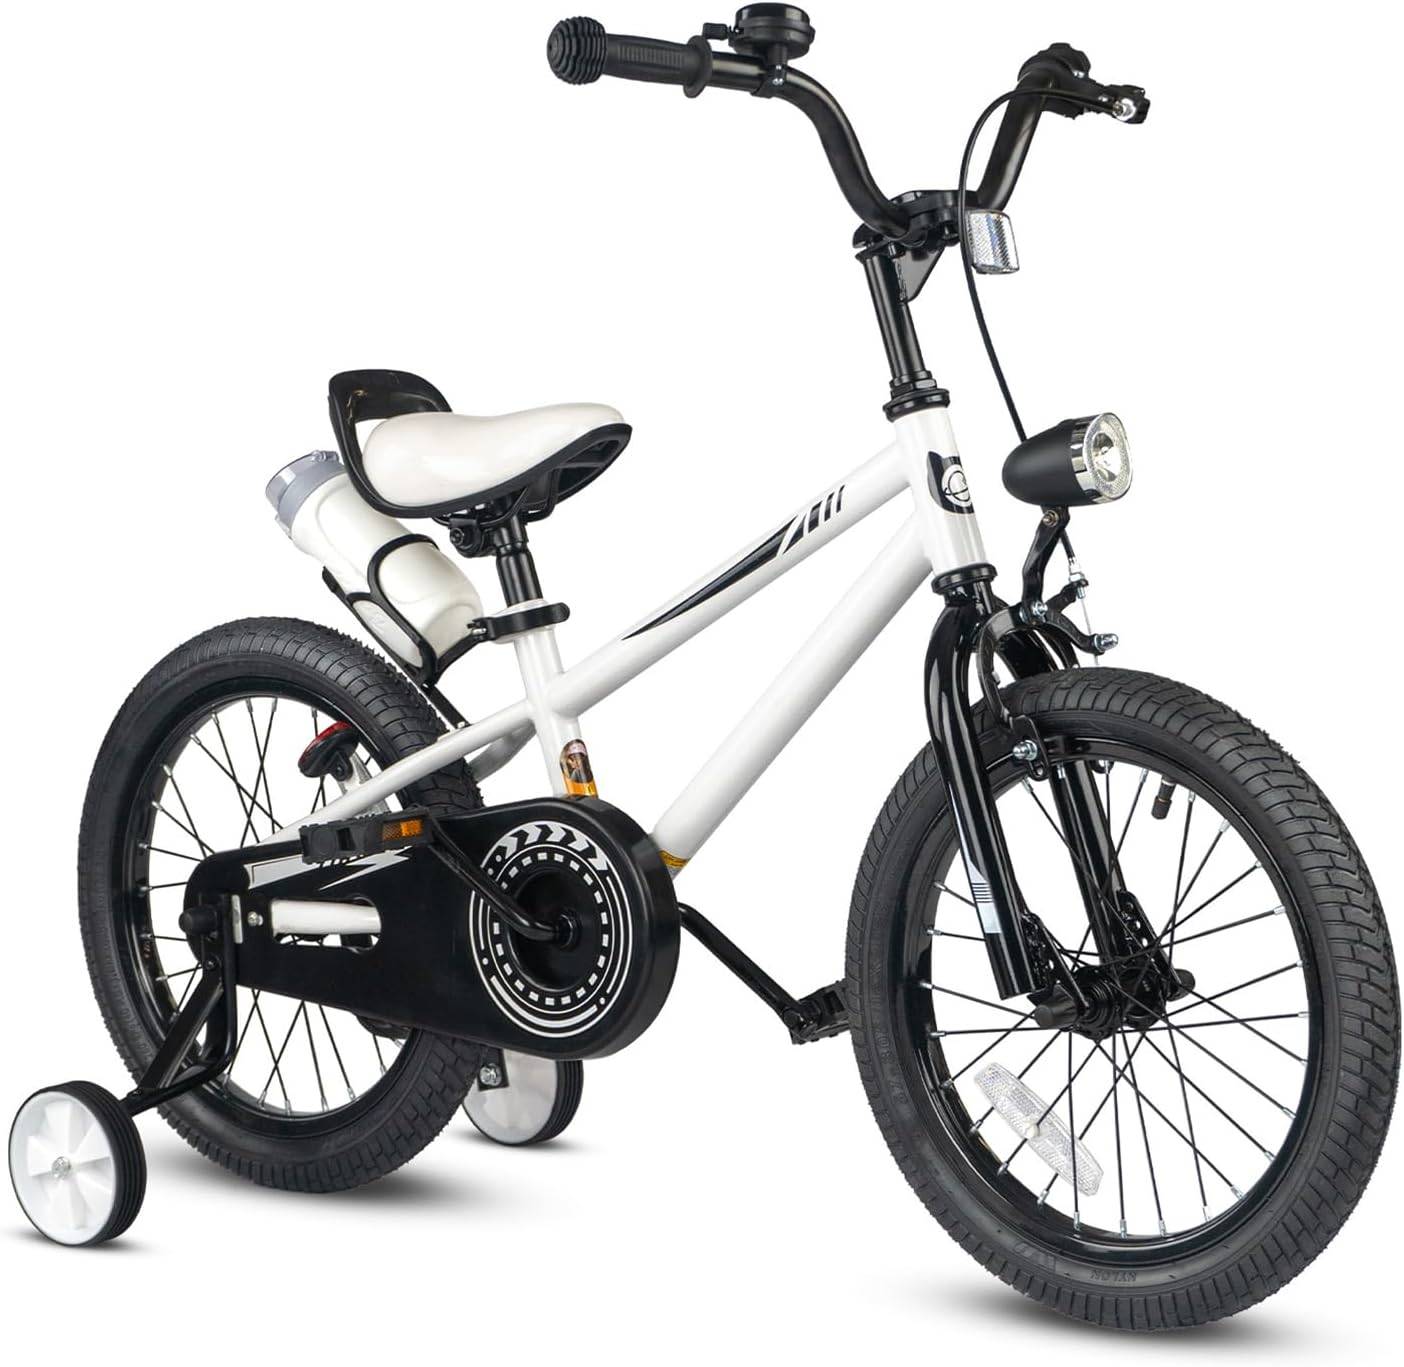
If the child measures outside those three height ranges, this product should not be treated as a substitute for an appropriate 18-, 20-, 24- or 26-inch fit. For assembly, adjustment, compatibility, maintenance, load limits or torque, follow the exact product manual or use a qualified bicycle mechanic.
Make the go-or-wait decision
Go without training wheels when the child fits the bike, glides in balance, steers predictably, starts deliberately, reaches and uses the brakes, and stops under control. Wait and practice when any one of those checks fails or the child is unwilling.
Measure height first, test the actual bicycle second, then run the short balance-and-control practice test. If fit and all five skills are present, remove the training wheels according to the manual and begin short, supervised two-wheel sessions; otherwise, address the failed check before trying again.
Recommended products
-
Save 11%
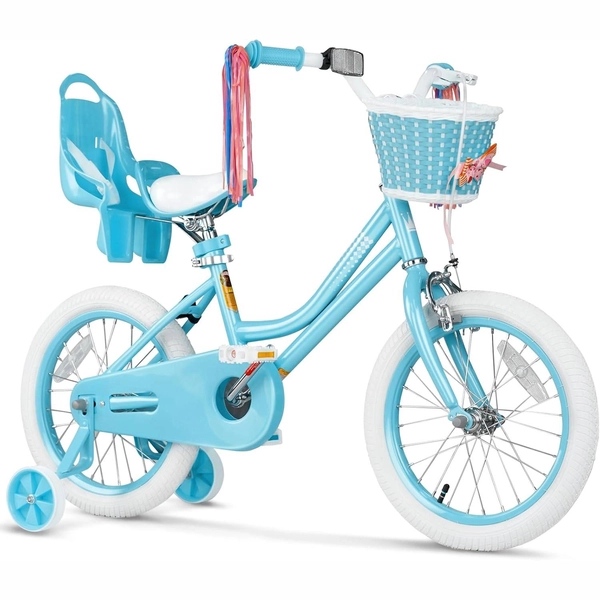
Blue XJD Girls Bike with Training Wheels – 12/14/16 Inch
If you're shopping for a first pedal bike for a daughter roughly 3 to 8 years ol…
Training Wheel Bikes Wheel Size 12 Inch / 14 Inch / 16 Inch Recommended Height 86–122 cm Training Wheels Yes 16 Inch -
Save 12%
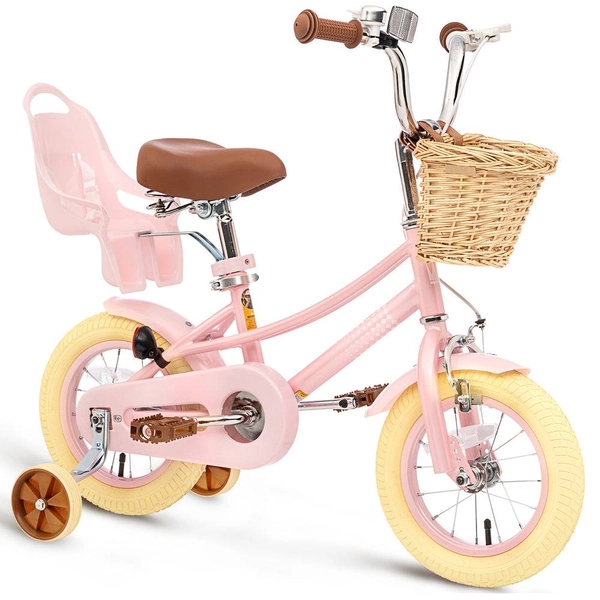
XJD Kids Bike for Girls – Pink, 12/14/16/20 Inch with Training Wheels
The XJD Kids Bike for Girls in Pink is a training-wheel bike built to carry your…
Training Wheel Bikes Wheel Size 12 Inch / 14 Inch / 16 Inch / 20 Inch Recommended Height 86–152 cm Training Wheels Yes 12 Inch -
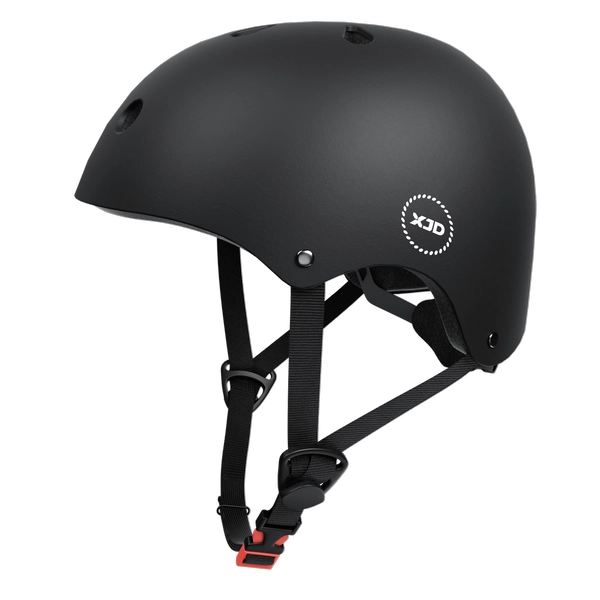
7-in-1 Kids Helmet & Protective Gear Set from XJD – Black or Blue
If you're outfitting one kid (or a couple of siblings) for biking, scootering, o…
Bike Helmets Black / L:21.65"-22.83" / 55-58 cm -
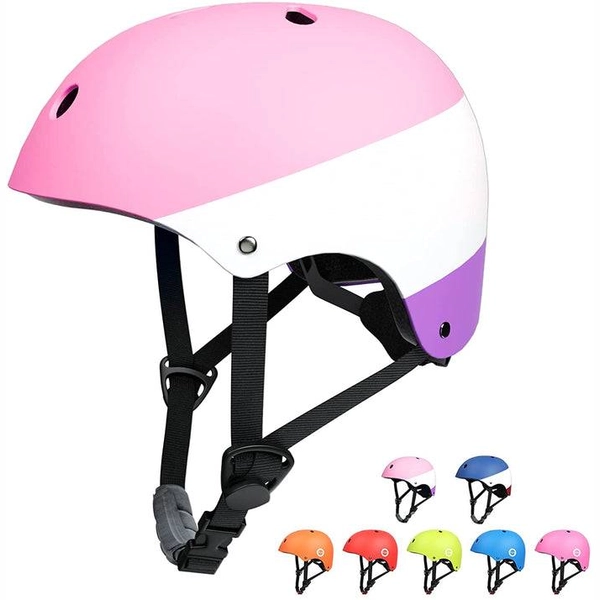
XJD Kids Bike Helmet for Boys & Girls, B White / Pink White
The XJD Kids Bike Helmet covers a wide age range — suggested for ages 2 through …
Bike Helmets Out of stock B White / L:21.65"-22.83" / 55-58 cm