

How does a child seat fit on a bike
A child seat fits on a bike only when the seat’s specified mounting system matches the bicycle’s frame or approved rack, with safe clearance and no interference.
Identify the child seat’s mounting type
Start with the exact child-seat model and manual. A seat may attach to the bicycle frame, mount on a compatible rear rack, or use a front-position system. These arrangements are not interchangeable. Confirm which system you have before measuring the bike.
Record every compatibility requirement stated by the seat manufacturer, including permitted bicycle types, approved mounting points, rack requirements, load limits, hardware, clearances and restrictions. If the manual is missing or does not address your bicycle, contact the manufacturer or ask a qualified bicycle mechanic rather than improvising an attachment.
Measure and inspect the bicycle
Compare the manual’s requirements with the actual bicycle, not merely its advertised wheel size. Depending on the mounting system, the relevant checks may include:
- The shape and usable mounting area of the frame tube specified by the seat manual.
- The installed rack’s exact model, attachment method and stated compatibility with child seats.
- Clearance above the rear wheel and around the saddle, pedals, cranks and steering area.
- Space for the mounting hardware without crushing cables, covering controls or contacting moving parts.
- Clearance for the child’s feet, the seat’s foot guards and the bicycle’s wheel through the full range of normal movement.
Do not invent a load limit, bolt setting or adapter choice. Use the values and procedures in the exact bicycle, rack and child-seat manuals. When those instructions conflict or leave a gap, the combination should not be treated as compatible.
Check the complete setup before riding
Install the seat exactly as its manufacturer directs, or have a qualified mechanic do it. Confirm that all specified fasteners and secondary retention devices are present. The seat must remain secure while the handlebars turn fully, the bicycle is leaned normally, and the pedals and wheels rotate.
Next, place the bicycle on level ground with an adult holding it securely. Check that the child can be restrained as directed, that feet remain contained in the designed supports, and that clothing or straps cannot reach the wheel or drivetrain. Never leave a child in the seat while the bicycle is supported only by a kickstand.
The added passenger changes balance, steering, braking and the effort needed to start or stop. Before carrying the child, practise mounting, dismounting, starting, turning and controlled braking with the seat installed but unoccupied. If the bicycle feels difficult to control, stop and have the setup assessed.
Wheel size does not prove seat compatibility
A 24-inch label describes wheel size; it does not establish that a frame or rack accepts a child seat. XBikes uses 24 inches as a starting point for riders ages 10–14 and heights 54–64 in (137–163 cm), but measured height, inseam, reach, brake control and current confidence take priority over age. The rider should try the bicycle, achieve suitable stand-over and reach the brakes reliably; buying oversized for growth is not a sound fit strategy.
The 24-Inch Purple XJD Beach Cruiser Bike with U-Brake is therefore useful only as a catalog comparison point: it shows a 24-inch beach cruiser bicycle with a U-brake that must be checked against the chosen seat’s manual. The supplied catalog facts do not confirm a compatible frame mount, rack, load limit or child-seat approval, so this product should not be assumed to accept one.

When this catalog product is relevant
Consider the 24-Inch Purple XJD Beach Cruiser Bike with U-Brake only if its rider fits and controls a 24-inch bicycle and a separate compatibility check confirms the intended child seat. Its wheel size and brake description cannot substitute for inspection of mounting points, clearances and manufacturer restrictions.
It is not a relevant answer if you need a bicycle already documented for a particular seat, rack or passenger load, because those facts were not supplied. Ask for the exact bicycle manual and exact seat manual, then have a qualified mechanic confirm any unresolved detail.
Make the final go or no-go decision
- Match the seat’s mounting type to an explicitly permitted frame or approved rack.
- Verify every stated load, hardware and clearance requirement from the manuals.
- Confirm that wheels, brakes, cables, pedals and steering remain unobstructed.
- Check that the adult rider fits the bicycle and can control it with the seat installed.
- Fit the child’s bicycle helmet level and adjust its straps according to the helmet manufacturer’s instructions.
If any mounting requirement, load limit or clearance cannot be verified, the child seat does not yet have a confirmed fit. Do not carry the child until the exact combination is approved by its documentation or checked by a qualified bicycle mechanic.
Bikes for your next adventure
-
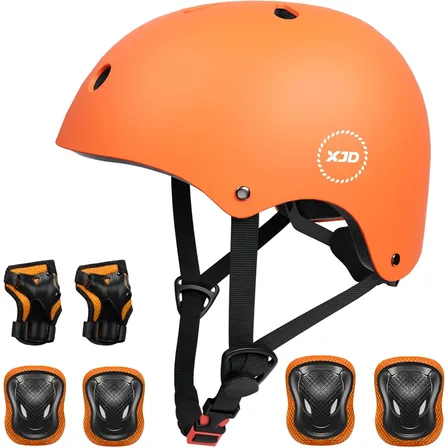
Orange Kids Helmet & Pad Set by XJD – Sizes S & M
The Orange XJD Kids Helmet & Pad Set is built for children around 3 to 8 years o…$24.64
-

XJD Boys 12/14/16" Training Wheel Bike – Blue
The XJD Boys Bike in Blue is a training wheel bike for riders 71–122 cm tall—rou…$169
$199 -
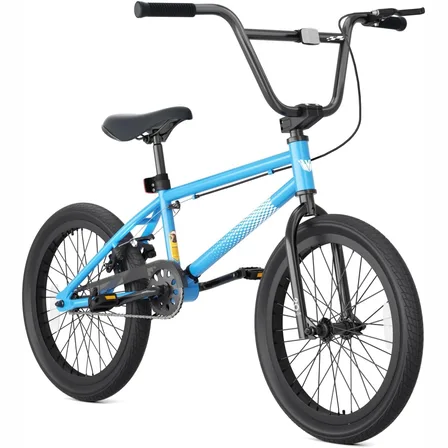
Blue XJD Freestyle BMX Bike, 20-Inch – No Pegs
The XJD 20-Inch Blue Freestyle BMX is an entry-level BMX bike for boys and girls…$189.99