

How to measure kid for bike
Measure your child’s standing height and inseam, compare height with the wheel-size chart, then confirm stand-over room, reach, brake control and confidence on the actual bike.
Take the two measurements that matter
Have the child wear the shoes they normally use for riding. For standing height, place them upright against a wall with feet flat and measure from the floor to the top of the head.
For inseam, have the child stand with feet slightly apart. Place a firm, thin book between the legs and raise it until it gently meets the crotch, like a bicycle saddle. Keep the book level and measure from the floor to its top edge. Record both inches and centimetres if convenient.
Height identifies a sensible wheel-size starting point. Inseam helps assess whether the child can straddle and manage a particular frame. Because frame shapes and component positions vary, neither measurement replaces trying the bicycle.
Compare height with the XBikes starting points
Use measured height before age. Overlapping ranges are intentional: when a child fits more than one row, the on-bike checks in the next section should decide.
| Wheel size | Rider height | Age starting point |
|---|---|---|
| 12 Inch | 34–40 in / 86–102 cm | 3–4 |
| 14 Inch | 37–45 in / 94–114 cm | 3–6 |
| 16 Inch | 40–48 in / 102–122 cm | 4–7 |
| 18 Inch | 43–52 in / 109–132 cm | 5–9 |
| 20 Inch | 48–60 in / 122–152 cm | 7–12 |
| 24 Inch | 54–64 in / 137–163 cm | 10–14 |
| 26 Inch | Over 60 in / 153 cm | Youth and adults |
Age is only an orientation point. Children of the same age can differ substantially in height, limb length, coordination and confidence. Do not move up merely because a birthday falls within the next range.
Confirm the fit on the actual bicycle
- Check stand-over: Have the child straddle the bicycle with both feet flat on the ground. The frame should not press into the body, and the child should be able to get on and off without struggling.
- Check seated control: With an adult stabilising the bicycle, confirm that the child can sit in a controlled position and place their feet where needed without stretching or twisting.
- Check reach: The child should hold the handlebar while keeping a relaxed, controllable posture. A reach that pulls the body forward or locks the arms indicates a poor match.
- Check brakes: Confirm that the child can reach and operate the bicycle’s braking controls reliably from the riding position. Brake access is not useful if the child lacks the hand control to use it.
- Check confidence: Ask the child to start, steer, stop and dismount in a safe, supervised area. Hesitation caused by the bicycle’s size is a reason to reconsider the fit.
Do not buy an oversized bicycle solely to allow room for growth. A child needs control now. If setup, adjustment or assembly is uncertain, follow the exact product manual or ask a qualified bicycle mechanic.
How the supplied bikes help with comparison
The catalog options cover several chart sizes: one model offers 12, 14 and 16 Inch labels, while the others provide 20- and 24-inch comparison points. This makes them relevant only after measurement has narrowed the likely size; they do not replace the individual fit checks.
 Pink Girls' 12/14/16" Bike by XJD – Basket & Doll Seat
Offers 12 Inch, 14 Inch and 16 Inch options, making it relevant after the child’s measured height identifies one of those chart ranges. Confirm stand-over, reach and control on the selected option.
 24-Inch Purple XJD Beach Cruiser Bike with U-Brake
A 24 Inch Beach Cruiser Bike comparison point for riders whose measured height falls within the supplied 24 Inch range. The child must still demonstrate suitable reach, braking control and confidence.
 Blue XJD Freestyle BMX Bike, 20-Inch – No Pegs
A 20 Inch Kids’ BMX Bike comparison point for a child within the supplied 20 Inch height range. Use the measured fit and on-bike control checks rather than age alone.
Pink Girls' 12/14/16" Bike by XJD – Basket & Doll Seat is listed as a Training Wheel Bike with 12 Inch, 14 Inch and 16 Inch options. Compare the child’s measured height with the corresponding chart row, select the relevant option, and then verify stand-over, reach and control.
Blue XJD Freestyle BMX Bike, 20-Inch – No Pegs is a Kids’ BMX Bike and provides a 20 Inch comparison point. The chart starts that size at 48–60 in / 122–152 cm and ages 7–12, but an individual fit check remains decisive.
24-Inch Purple XJD Beach Cruiser Bike with U-Brake is a Beach Cruiser Bike and provides a 24 Inch comparison point. Its chart range is 54–64 in / 137–163 cm, with ages 10–14 as a starting point. Confirm that the rider can reach and operate its braking control.
If measurement points to 18 Inch or 26 Inch, none of these supplied products has that exact wheel size. The displayed models are nearest-size comparison points, not substitutes; do not treat a neighbouring size as equivalent.
Finish the decision safely
Repeat the fit check whenever the child grows noticeably or control becomes awkward. Also use a properly fitting bicycle helmet: it should sit level, and its straps should be adjusted according to the helmet manufacturer’s instructions.
Your next step is simple: write down height and inseam, identify the matching chart row or overlapping rows, and have the child try that exact size. Choose only when they can straddle, reach, brake, steer and dismount with present-day control.
Bikes for your next adventure
-
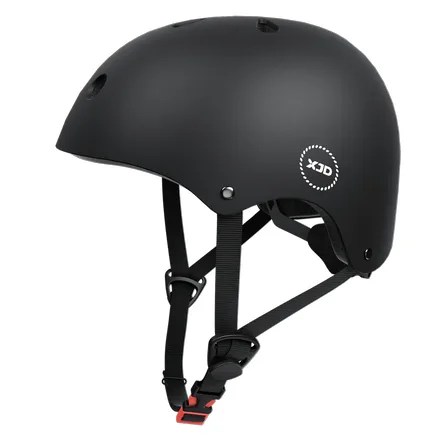
7-in-1 Kids Helmet & Protective Gear Set from XJD – Black or Blue
If you're outfitting one kid (or a couple of siblings) for biking, scootering, o…$59.99
-
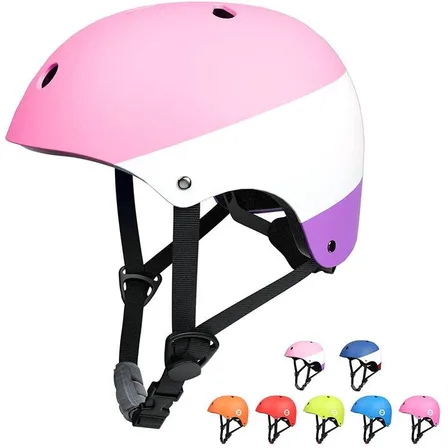
XJD Kids Bike Helmet for Boys & Girls, B White / Pink White
The XJD Kids Bike Helmet covers a wide age range — suggested for ages 2 through …$59.99
-

Blue XJD Girls Bike with Training Wheels – 12/14/16 Inch
If you're shopping for a first pedal bike for a daughter roughly 3 to 8 years ol…$149
$169